Roles
Roles (Configuration > Access Control > Roles) are named sets of permissions and restrictions that make it easier to allow many similar users to carry out common tasks, or to assign permissions in sets if multiple users have overlapping needs for different modules. If you have multiple users or groups of users needing similar sets of permissions, assigning a single role is much faster than assigning a large number of permissions to multiple users one at a time.
As the Icinga 2 documentation explains, by default all actions are prohibited. Permissions granted by multiple roles are summed together, while multiple restrictions have a bit more complex behavior.
In general, permissions allow users to perform a certain set of actions. They are separated into hierarchical namespaces corresponding to the names of modules, where the * (wildcard) character can be used to designate all permissions within a given namespace. Restrictions instead are used limit information that can be viewed in forms, dashboards, reports, etc. and support the same filtering expressions used in monitoring.
Some examples of roles include:
A root role can give all permissions at once by enabling the Administrative Access setting.
Assigning users permissions per module such as:
Access to the Analytics module
Configuring elements in Director
Showing all business processes (see the example in Fig. 8)
Allowing operators to do only specific tasks like:
Allow configuration of notifications (director/notifications)
Allow processing commands for toggling active checks on host and service objects (monitoring/command/feature/object/active-checks)
Allow adding comments but not necessarily deleting them (monitoring/command/comment/add)
To create a new role, click on the action Create a New Role as shown
in Fig. 7. You can also edit an existing role by
clicking on the role’s Name in the table, and remove a role by
clicking on it at the right side of that role’s row.
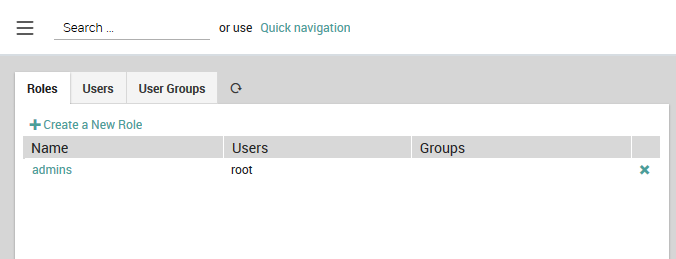
Fig. 7 The list of existing roles.
Permissions can be granted on a per-module basis using the form at the bottom of the New Role panel as shown in Fig. 8. An incomplete list of permissions can be found in Icinga’s official documentation. For restrictions, you must enter the appropriate filtering expression. These expressions can reference defined variables such as user and group names and use regular expressions.
Note
Whenever you change permissions or restrictions for any module, you will need to log out of NetEye and then log back in before the new settings will take effect.
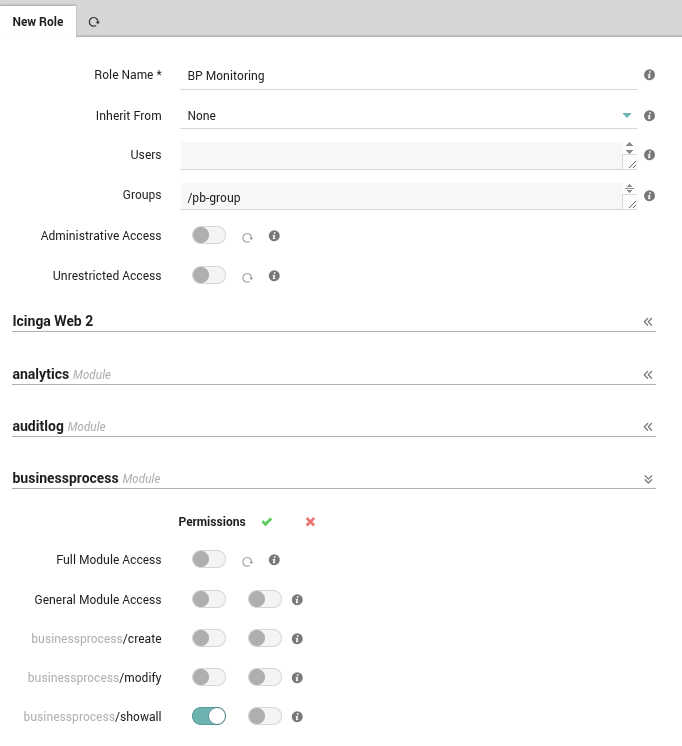
Fig. 8 Adding a new role with permissions and restrictions.
NetEye automatically enables the Full group path feature in Keycloak. This
means that the full path of a group is used as group name in NetEye. For
example, if you have a group named admins inside a group named icinga,
the full group path will be /icinga/admins. Trivially, if the group is at
the root level, the full group path is simply /groupname. This is useful to
avoid name collisions when you have groups with the same name in different
parent groups on imported federations or IDPs. The following image illustrates
the full group path as shown in the Keycloak Web UI, under the User details
section > Groups.

Fig. 9 Full group path shown in Keycloak Web UI.